Table Remodeling Project
 Technologies: carpentry design painting
The Table Remodeling Project was a real challenge, working with mostly used/repurposed materials.
Lego/Art Workstation Project
How hard can it be to make a Lego workstation from a regular table? Well…not too hard if you set out with perfectly paired materials and have the correct power cutting tools. Quite a bit more difficult if piecing together components from a pile of mismatched, odd supplies and using only a hand saw.
DIY Materials:
The gifted/left over materials below were used as main components for this project.
- kids Ikea table
- lumbar for shelf frame
- wood base for shelf
- white paint
- art paper roll
- nuts, bolts, screws, washers
However, some new components were needed.
- brackets
- clear varnish
- paper clasp
Inginuity and Assitance
Although the steps below may seem straight forward, some inginuity was required to faciliatate the use of pre-owned, mismatched fasteners and lack of power cutting tools.
The Process
- Mock up shelf design and gather wood materials
- Measure and cut wooden 2x2 shelf frame sides with a hand saw; sand ends to straighten cutss
- Measure shelf base to sit inside back and front table legs only to avoid corner square cut
- Home Depot visit for cutting assistance with shelf base straight edge cut; purchase new brackets and varnish
- Application of clear varnish to table top and first coat painting of shelf frame pieces
- Second coat application to all wood pieces
- Assembly of shelf frame to shelf base
- Position constructed shelf in between legs and pre-drill for bracket installation
- Addition of braces attached to shelf base and table legs
- Measure, pre-drill, install curtain rod brackets and paper holder clip
- Measure and cut wooden dowel and assembly art paper roll holder
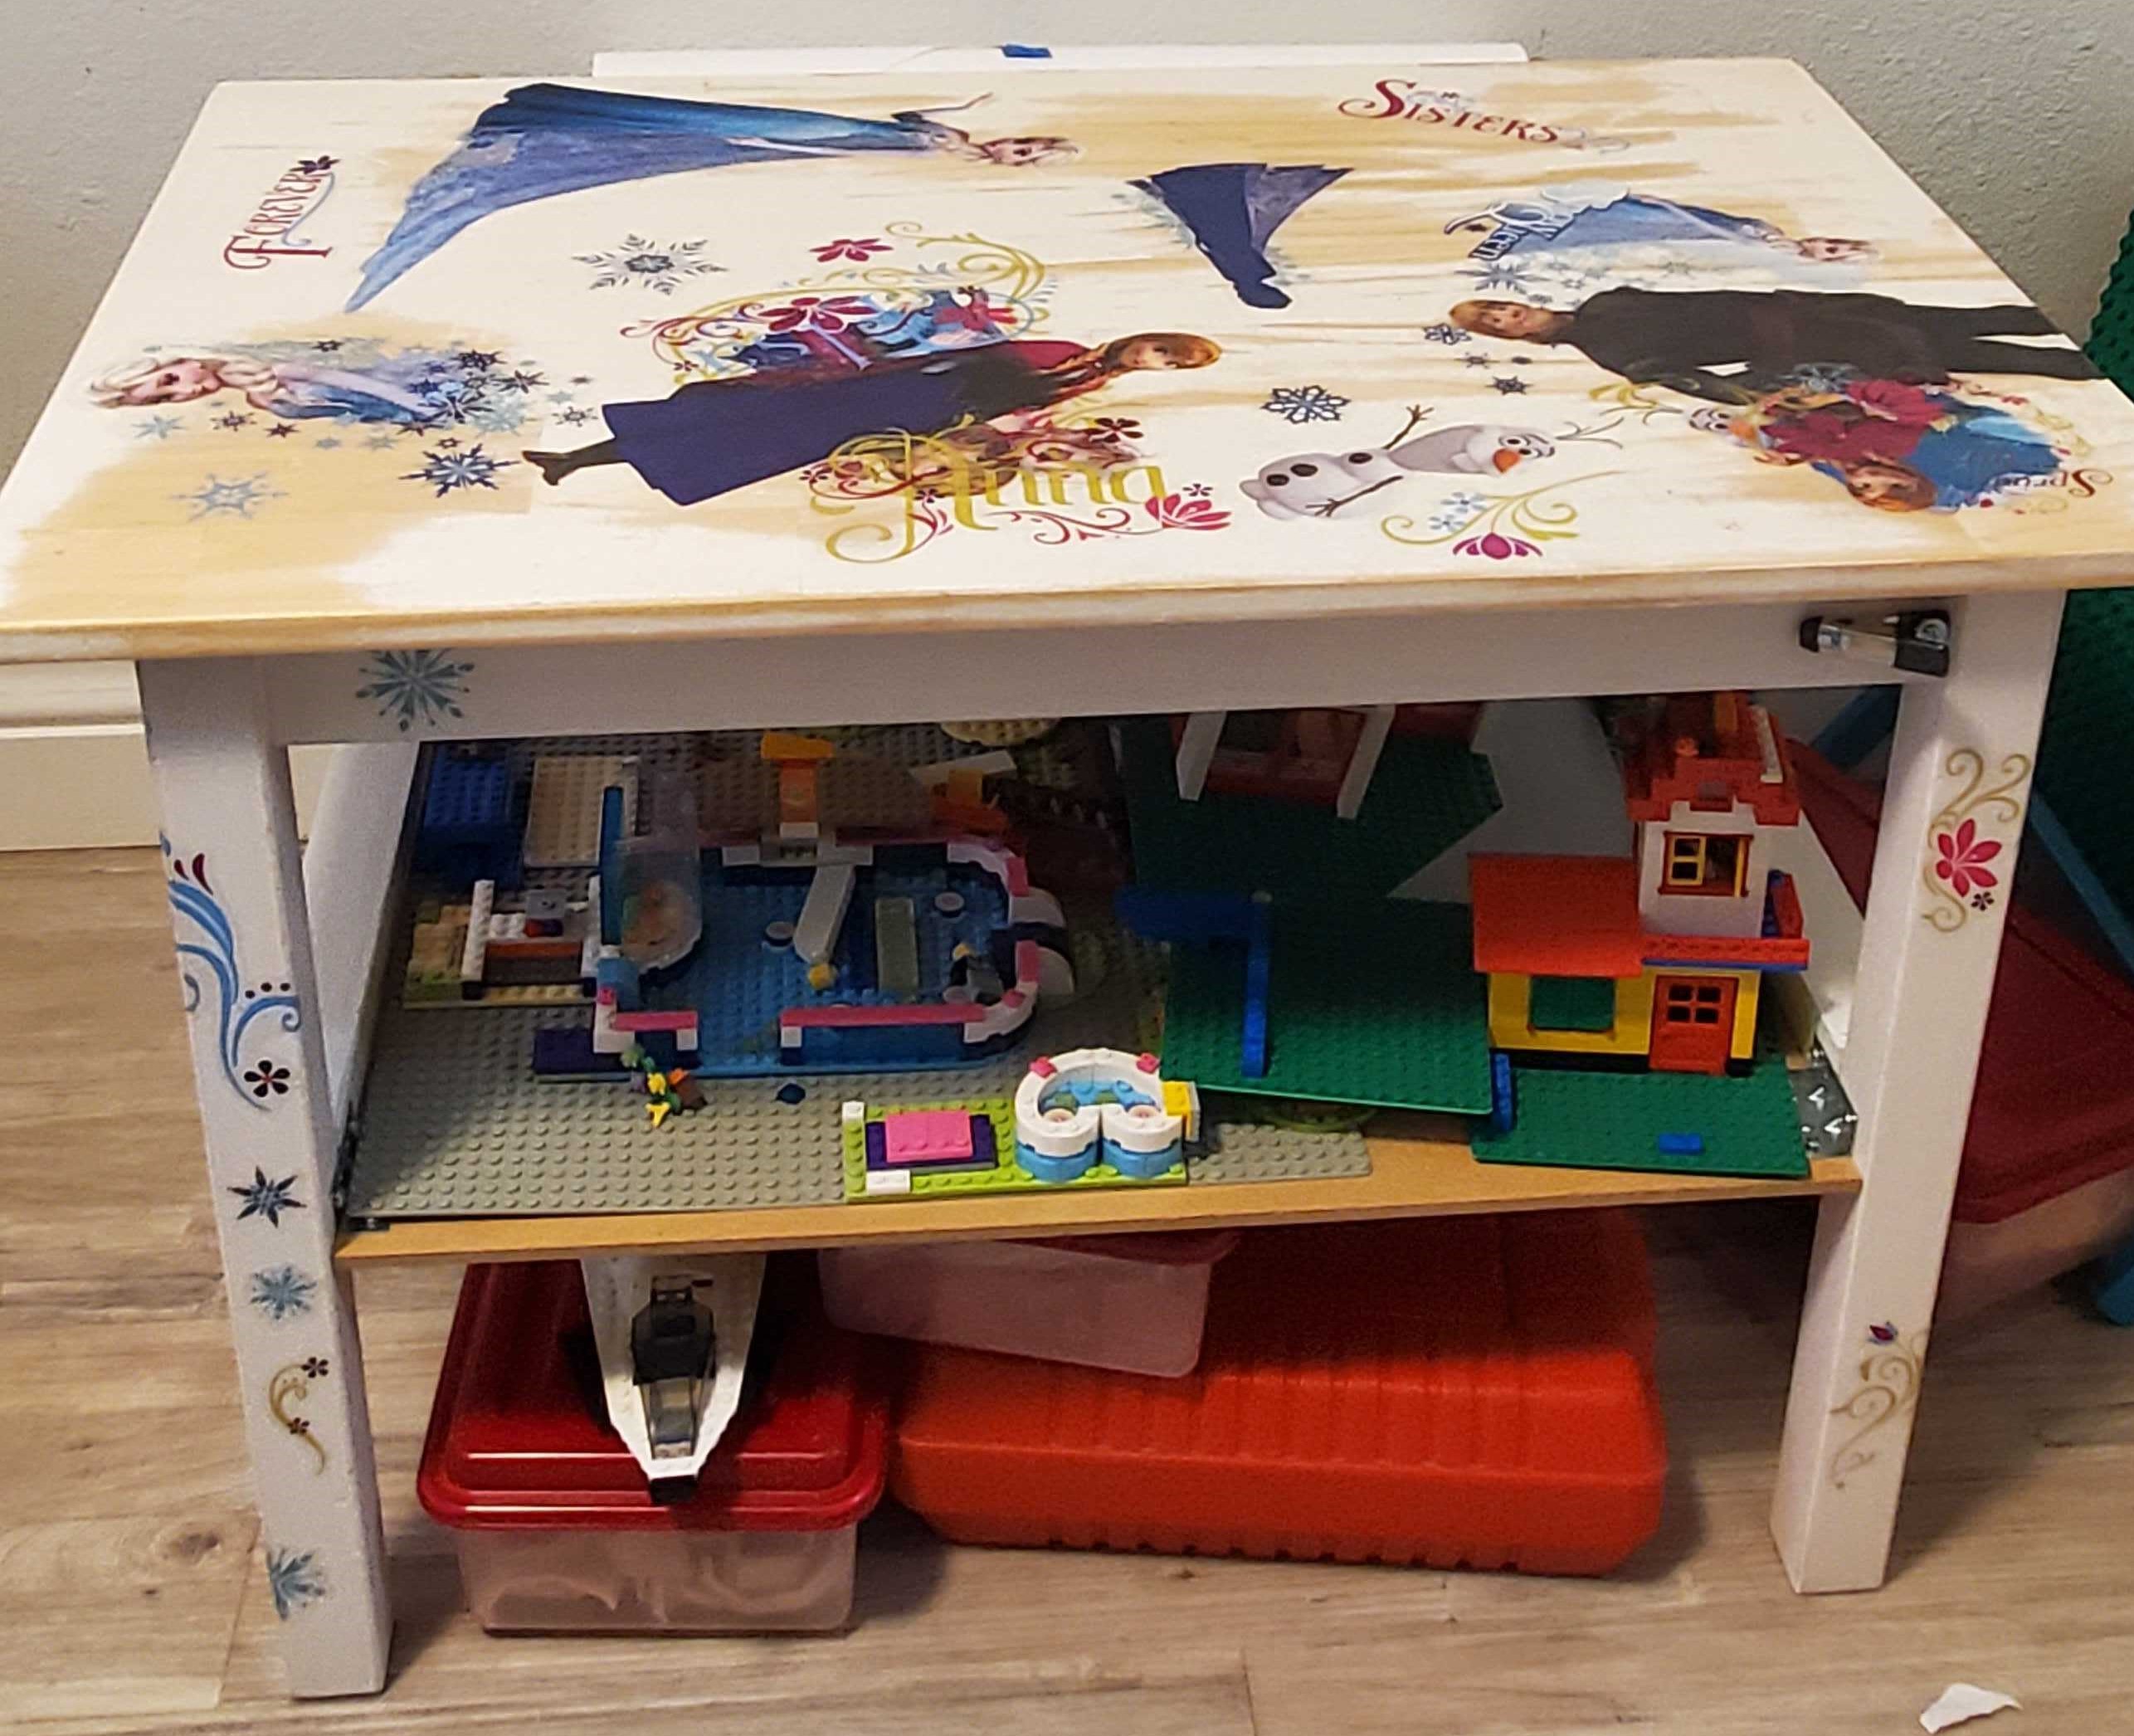
- Organize Lego containers and lego creations onto shelves
- Decals applied (with recipient assistance) for the perfect finishing touch
What would I have done differently?
Measured the shelf base to fit perfectly inside both the left/right sides legs and the front/back legs–a small square cutout for each leg to make the base flush with outer edge of all legs and provide more stability the shelf base and required less hardwarde securing the shelf base to the side frame.
Pulling Together for the Win!
All pieces were able to be assembled together without structural change and the shelf height was perfectly aligned allowing for bottom storage containers to fit underneath. In the end, this project was a win because of the enhanced productivity/creativity it brought to the space…AND the decals were a hit!